It costs a lot to get faulty electronic devices repaired, right? High labour costs and cheap retail prices mean a low threshold when deciding whether to repair or replace.
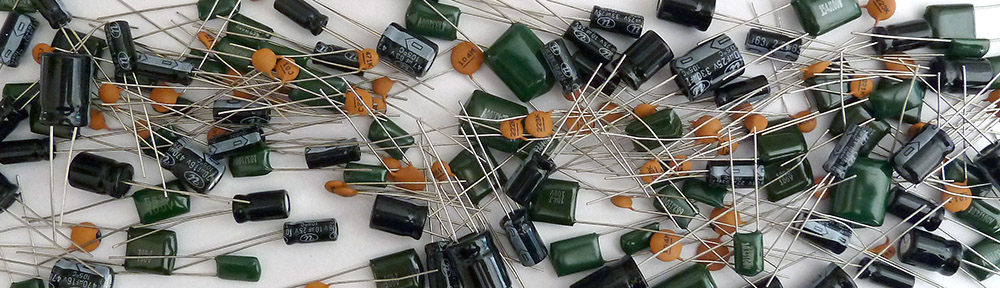
Electrolytic capacitors
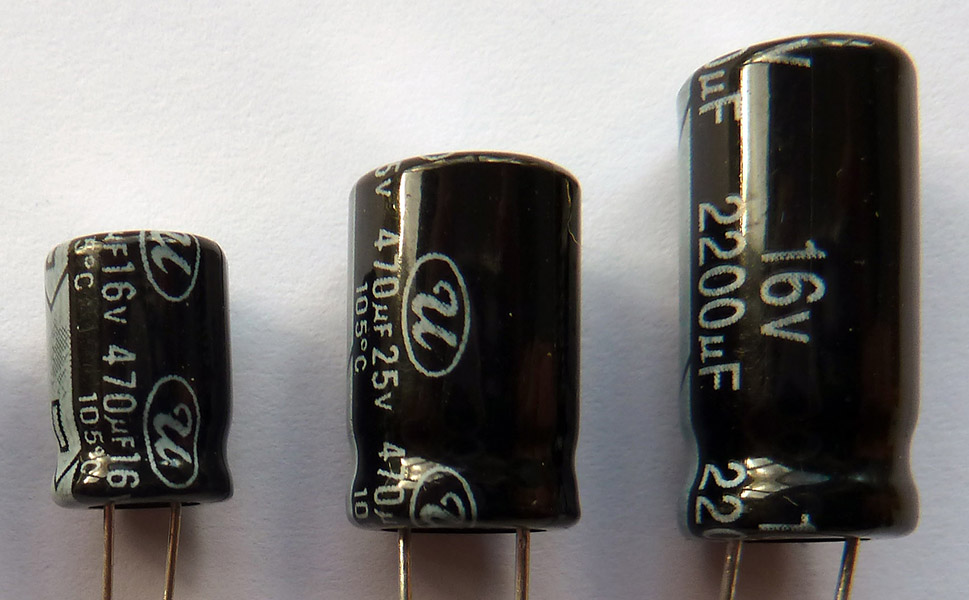
Most modern electronic devices use switch mode power supplies, which are cheap, compact and very efficient. They work by rapidly switching the power off and on to convert high voltage to the required lower voltage(s). Capacitors are just one of many critical components for switch mode power supply operation; they store small amounts of electric charge and smooth out voltage changes. Some capacitor types are prone to failure, causing low voltage output and a device that doesn’t work as expected.
Over the past year or so, I’ve repaired three different devices that were otherwise destined for the recycling depot. In each case, faulty capacitors were the cause of the problem.
Cold, dead laminator
An A3 laminating machine was in the recycle pile at work. What’s the point of having it repaired when a replacement unit is only $25? I gave it a quick look-over and it didn’t seem to be a mechanical problem (for example, a broken gear), so I took it home and took the cover off.
Visual inspection revealed that one of the capacitors on the power supply was bulging. A domed or bulging top is a dead give away for a failed capacitor. Once I desoldered the suspect cap, I could see that it had definitely failed. I installed a replacement of the same value, which I already had on hand. I also replaced the capacitor next to it since I was in there anyway. Et voila! The laminator was alive once more!

 New capacitor, flat top (R) Slight dome is the tell-tale of a dead cap")
 How a capacitor should look (R) Dead cap, completely wrecked underneath")

Grounded AirPort
A few months back, I purchased a defective Apple AirPort Express on eBay. It was listed as not working, but if I got it cheap it wouldn’t matter if I couldn’t get it going. I paid just $18, delivered. I think they were around $90 when new, and the current model would set you back around $150.
For this one, I went to Google for some info on the symptoms and solutions. As always, there’s an endless supply of others sharing their experiences and thanks to ‘thedivvie‘ on YouTube, I knew exactly what I needed to look for. The power supply has two capacitors that are prone to failure, causing symptoms the same as my dead AirPort.
Apple obviously made AirPorts to be totally disposable; they’re not at all repair-friendly. The only way to get inside one is to cut it apart with a hacksaw. Carefully. <mini_rant> Is this really necessary, Apple? How about designing repairability into your products, you know, as a small gesture to our planet and to your customers? A little less waste helps and I really don’t think your bottom line would suffer noticeably.</mini_rant>
I located the suspect caps, as shown in thedivvie’s video, and replaced them with a couple I had on hand. After reassembling with cloth tape (the easiest way to hold it together after sawing it open), I had a fully functioning AirPort Express again. Now I can wirelessly stream music to my garage from anywhere on my home network. 🙂


Defective DVR
Just last month, a friend replaced his defective Digital Video Recorder (DVR). Its symptoms weren’t immediately obvious as a power supply issue, but I asked if he would pass the unit on to me instead of tossing it out. He did. Thanks, Fez.
The prime suspect was clear as soon as I opened the unit — a capacitor with a rounded top. I tested the power supply’s output and confirmed that even without a load, the 3.3 and 7 volt lines were low. Definitely worth making a quick trip to Jaycar to get the right value replacement capacitor. With that installed, the unit powered up properly and is now fully operational.
A replacement DVR would set you back around $300-$500. A professional might charge $100-150 for this repair, but you’d probably still opt to replace the dead unit, since you’d get a newer generation of technology complete with warranty. Now, this old DVR will live on for another few years.


And so…
In summary, it took a few hours of my time and roughly 95 cents for each capacitor to keep these three items in service. Admittedly, I was lucky, as the repairs were so simple. I don’t have the skills or enough knowledge to truly troubleshoot power supplies, but sometimes you can get away with knowing just enough. 🙂
Obligatory disclaimer: This is a summary post about my experience repairing a few devices. It should not be used as instructional material, nor as advice to undertake this type of repair yourself. Dangerous voltages are present and exposed when these devices are disassembled. Do not attempt any disassembly of mains-powered devices unless you have the necessary knowledge to do so safely and without electrocuting yourself!
PS
Just last week, my neighbour mentioned her TV remote wasn’t working. I coaxed open the case and using my multimeter I found a cracked solder joint on a battery terminal. Not a capacitor problem, but still an easy repair. An minute with the soldering iron and this too lives another day!
Some sons make mothers proud u are one of them